给个人网站加上邮箱通知
1、前言
一般在网站上实现邮箱通知有多种方式,原先我所使用的是mailto:chenyc2021@qq.com的方式,这种方式可以直接调用设备上的邮箱发送邮件,但是这样子就容易被发件人不小心修改邮箱信息,而且如果发件人的设备上没有邮箱设备,可能就无法使用这个功能了,所以本次我更新了网站中的邮件发送功能,优化用户体验。
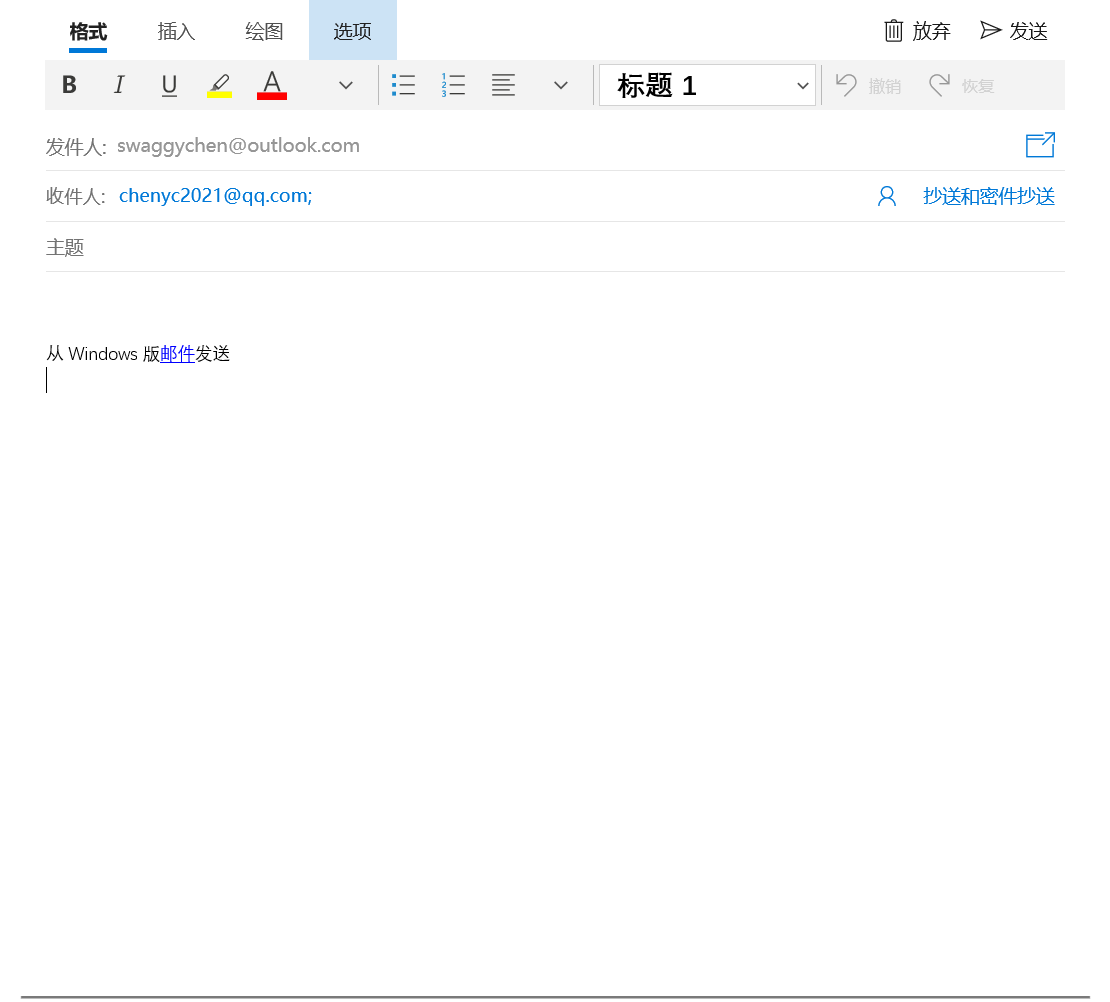
原先的发送邮件方式:

现如今改成使用 commons-email 来发送邮箱,配合前端的表单,实现邮件发送。

2、前端部分
首先编写前端表单界面,我这里所使用的是点击按钮弹出弹框的形式进行填写,然后使用 axios 将数据传送到后端。
1
2
3
4
5
6
7
8
9
10
11
12
13
14
15
16
17
18
19
20
21
22
23
24
25
26
27
28
29
30
31
32
33
34
35
36
37
38
39
40
41
42
43
44
45
| <div class="Formail" v-if="isAd==0">
<!--<a href="mailto:chenyc2021@qq.com?subject=广告招标&body=广告商家:初步报价:其他联系方式:">联系管理员</a>-->
<el-button type="success" @click="dialogVisible = true">联系管理员</el-button>
</div>
<div>
<el-dialog
v-model="dialogVisible"
title="您的广告内容"
width="30%"
>
<div>
<div>
<span style="size: 18px;font-weight: bold">广告标题:</span>
<el-input v-model="input.title" placeholder="广告标题" style="width: 80%"></el-input>
</div>
<div style="padding-top: 5px">
<span style="size: 18px;font-weight: bold">广告内容:</span>
<el-input v-model="input.text" autosize type="textarea" placeholder="广告内容" style="width: 80%"></el-input>
</div>
<div style="padding-top: 5px">
<span style="size: 18px;font-weight: bold">广告报价:</span>
<el-input v-model="input.money" placeholder="广告报价" style="width: 80%"></el-input>
</div>
<div style="padding-top: 5px">
<span style="size: 18px;font-weight: bold">显示日期:</span>
<el-input v-model="input.times" placeholder="显示日期" style="width: 80%"></el-input>
</div>
<div style="padding-top: 5px">
<span style="size: 18px;font-weight: bold">联系方式:</span>
<el-input v-model="input.phone" placeholder="联系方式" style="width: 80%"></el-input>
</div>
<div style="padding-top: 5px">
<span style="size: 18px;font-weight: bold">您的邮箱:</span>
<el-input v-model="input.email" placeholder="您的邮箱" style="width: 80%"></el-input>
</div>
</div>
<template #footer>
<span class="dialog-footer">
<el-button @click="dialogVisible = false">取消</el-button>
<el-button type="primary" @click="buyEmail">发送</el-button
>
</span>
</template>
</el-dialog>
</div>
|
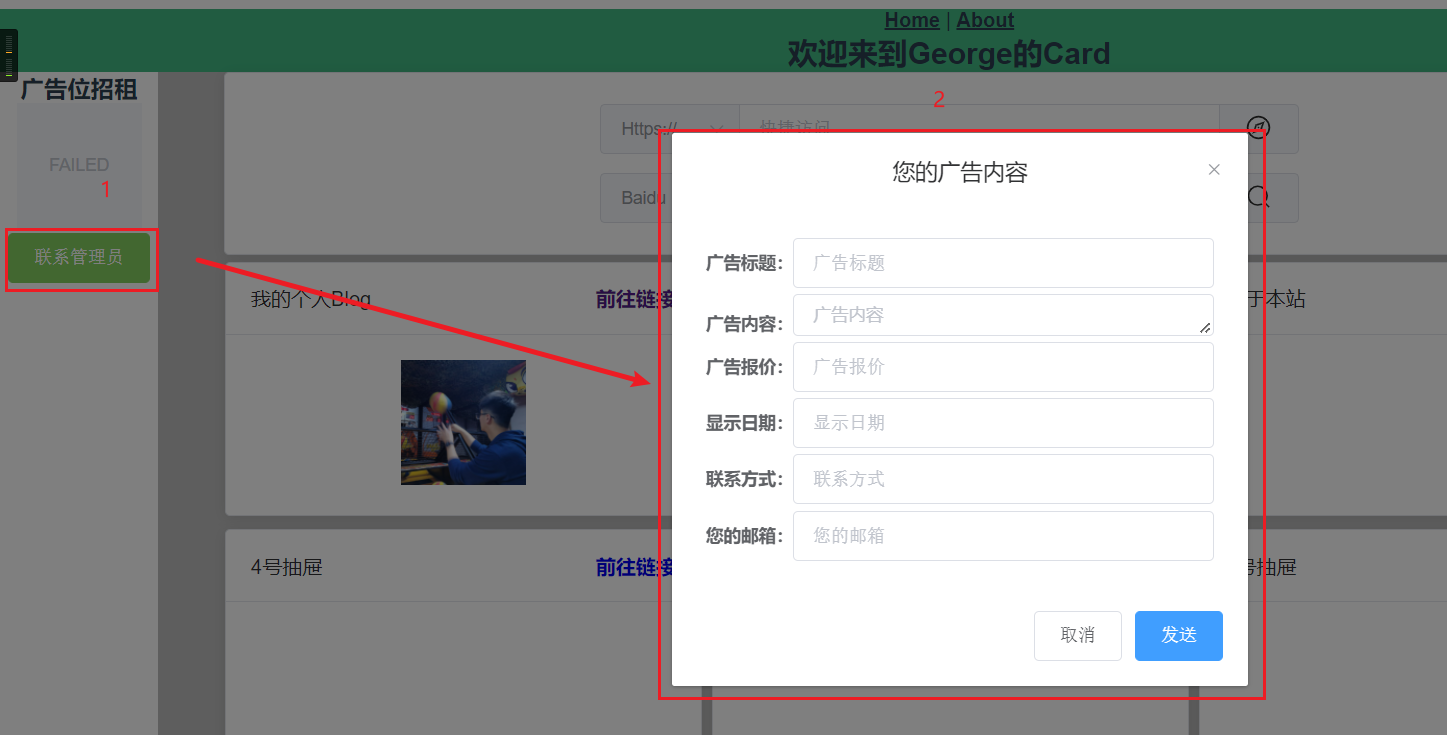
所显示的效果如下图所示:

随后是 axios 部分,将表单的数据传送给后端。
1
2
3
4
5
6
7
8
9
10
11
12
13
14
15
| const buyEmail = () => {
proxy.$axios.get('ad/buy',{params:{"title":data.input.title,
"text":data.input.text,
"money":data.input.money,
"time":data.input.times,
"phone":data.input.phone,
"buyemail":data.input.email}
}).then((res)=>{
ElMessage({
message: '邮件发送成功,请等待工作人员回复.',
type: 'success',
})
})
data.dialogVisible = false
}
|
发送邮件之后,会反馈信息,提高用户体验。
3、后端
现在就是重要的后端部分了。
3.1、引入依赖
1
2
3
4
5
| <dependency>
<groupId>org.apache.commons</groupId>
<artifactId>commons-email</artifactId>
<version>1.5</version>
</dependency>
|
3.2、控制器类
编写一个控制器类,接收前端传来的数据,并在此处做邮件的发送工作。
1
2
3
4
5
6
7
8
9
10
11
12
13
14
15
16
17
18
19
20
21
22
23
24
25
26
27
28
29
30
31
| @GetMapping("/buy")
public int buyAd(String title,String text,String money,String time,String phone,String buyemail) throws EmailException, MalformedURLException {
HtmlEmail email = new HtmlEmail();
email.setHostName("smtp.qq.com");
email.setSSLOnConnect(true);
email.setSslSmtpPort("465");
email.setCharset("UTF-8");
email.setAuthentication("chenyc2021@qq.com", "cqyruivpditnebhc");
email.setFrom(buyemail, title);
email.setSubject(title);
StringBuilder sb=new StringBuilder();
sb.append("广告内容:").append(text).append('\n')
.append("广告报价:").append(money).append('\r')
.append("联系方式:").append(phone).append('\r')
.append("上架时间").append(time);
email.setHtmlMsg(sb.toString());
email.addTo("chenyc2021@qq.com");
email.send();
return 1;
}
|
上面的代码就是发送邮件所需要的最基础的代码了。除此之外还有很多方法可供我们使用,如果只是实现简单地发送,只要上面地简短代码即可。
这里有一个邮箱的授权码,我以QQ邮箱为例子。
- 首先打开设置中的账户

- 然后打开 POP3/SMTP服务,然后会有一个生成授权码的按钮,点击认证即可生成,然后及时复制到本地。


