这几天在做桂林医学院的项目的时候,甲方提出了需求说能不能将消息通知改成微信公众号通知,因为公众号的效率比较高,同时受众也是比较多(原本用的是易班的 api,文档及其不友好,bug 官方也不解决,按照上一届学长的说法,之前发送消息接收人得等两天之后才能收到)。
而如果用到微信的公众号,必须就得接收人主动绑定自己的微信号,我们才能获取他的 openid ,才能对其发送模板消息。
开发的时候我用的是微信的测试公众账号 ,但是实际的功能和企业的账号是一样的。
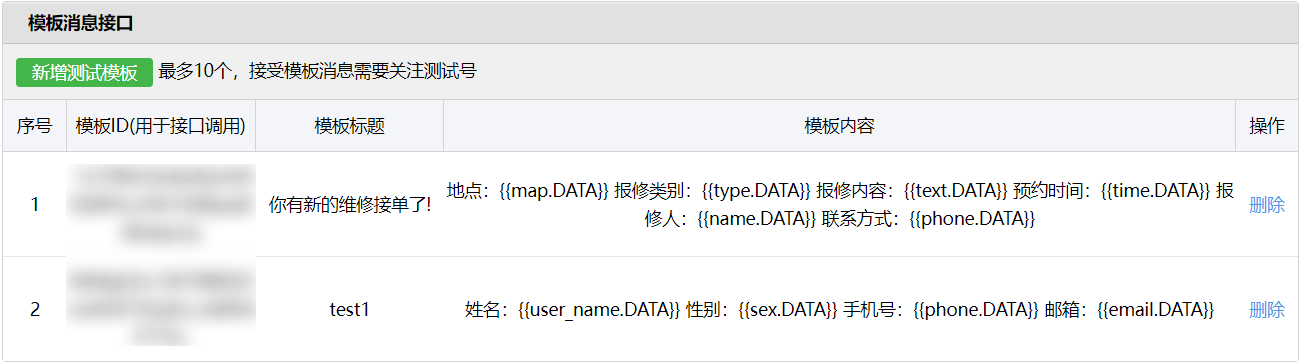
首先我们要知道,模板消息 是什么?以下就是公众号模板消息,我们在生活中很多场景都会接触到它。
在进入了测试号的管理后台之后,我们可以在这里设置我们的模板消息的模板
当然,本文的主题并不是模板消息的发送,而是使用模板消息的时候引发的其他问题,具体的模板消息可以移步我的:
openid 是微信用户的唯一标识,就跟人的身份证一样,每个微信号都有一个自己的 openid ,用于识别每个微信,一般情况下,我们无法看到,更无法修改我们的 openid,此时如果需要获取,就需要微信官方给我们提供的接口:
我们点开下图中的蓝色 字体,网页授权 的界面:
里面详细介绍了获取openid,甚至是用户信息的过程:
以下是我通过 java 实现的一些过程,可供参考。
4.1、用户同意授权,获取code 根据官方的说法,我们需要请求一个链接来获取到用户的 CODEhttps://open.weixin.qq.com/connect/oauth2/authorize?appid=APPID&redirect_uri=REDIRECT_URI&response_type=code&scope=SCOPE&state=STATE#wechat_redirect
这里有几个参数,官方文档都有说明,这里重点是把要去上一步中:
最后面的修改那里,将域名改成与 REDIRECT_URI 一致
而此时我们选择的scope是需要用户手动通过授权的snsapi_userinfo
然后我们就有了我们的链接,此时就要去代码中对其进行请求了。
以下就是java代码WechatOAuth 控制器,用来接受前端发来的请求
1
2
3
4
5
6
7
8
9
10
11
12
13
14
15
16
17
18
19
20
21
22
23
24
25
26
@RestController @RequestMapping("wechat") public class WechatOAuth @Autowired private AuthUtil authUtil; @Resource private UserService userService; @RequestMapping("/oauth") public void oauth (HttpServletResponse response, String id) throws IOException String appid = "wxac**********d26f" ; String path = "http://10.33.73.62:8089/wechat/invoke" ; path = URLEncoder.encode(path, "UTF-8" ); String url = "https://open.weixin.qq.com/connect/oauth2/authorize?appid=" + appid + "&response_type=code&scope=snsapi_userinfo&redirect_uri=" + path + "&state=" + id + "&connect_redirect=1#wechat_redirect" ; response.sendRedirect(url); } }
在这里,我们请求链接获得 code ,然后返回我们设置好的回调地址 ,也就是上面的 path,(注意,此处的地址要和前面我们设置的一致,后面的端口可以改变)
4.2、通过code换取网页授权openid 然后我们再写一个转发之后的控制器。String path = "http://10.33.73.62:8089/wechat/invoke";
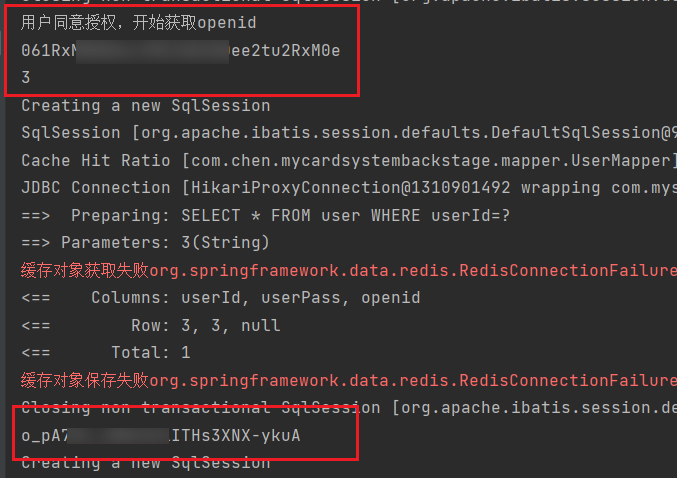
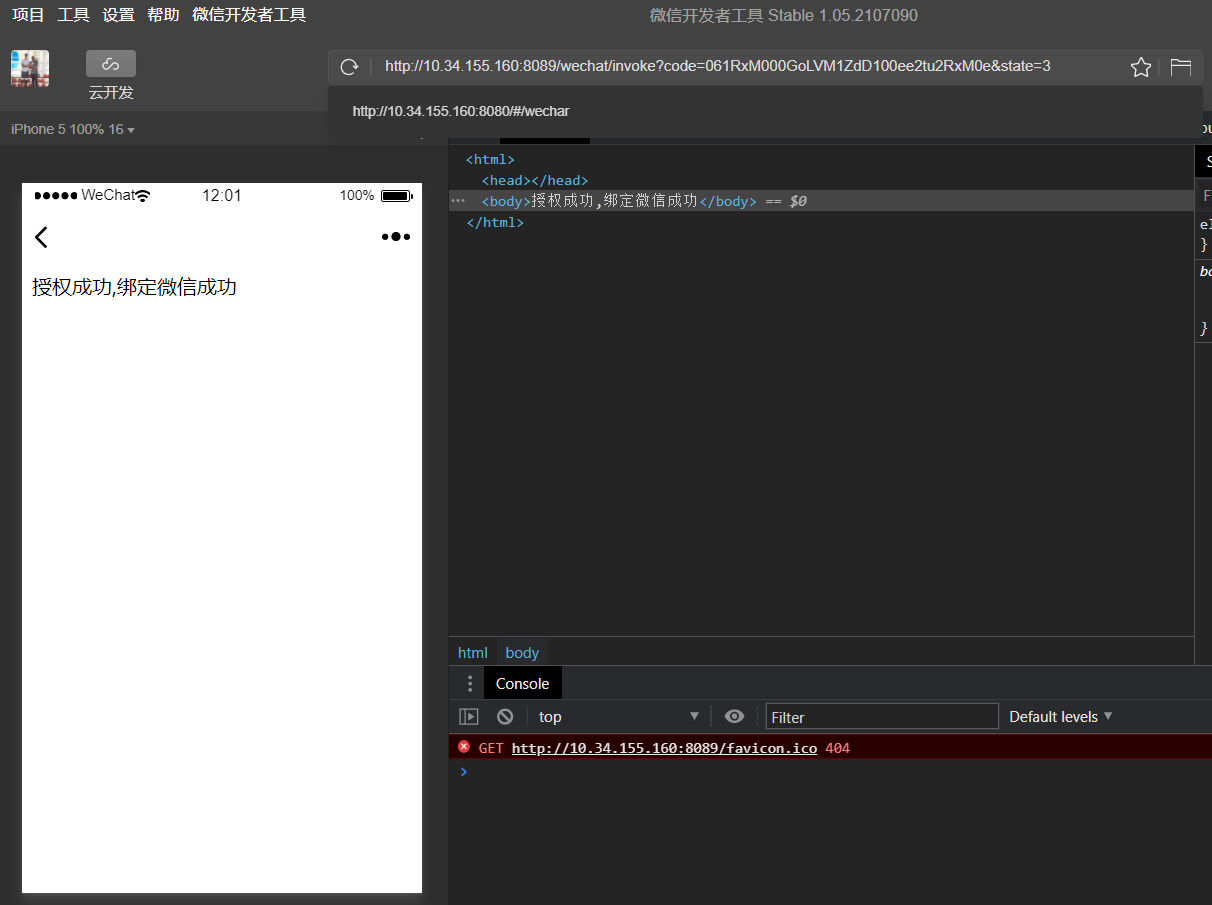
1 2 3 4 5 6 7 8 9 10 11 12 13 14 15 16 17 18 19 20 21 22 23 24 25 26 27 28 29 30 31 32 33 34 @RequestMapping("/invoke") public String oauthInvoke (HttpServletRequest request, HttpServletResponse response) System.out.println("用户同意授权,开始获取openid" ); String code = request.getParameter("code" ); String state = request.getParameter("state" ); System.out.println(code); System.out.println(state); String isOpenid=userService.selUser(state).getOpenid(); if (isOpenid!=null ){ return "您已经绑定过微信了,如需修改请联系管理员" ; } String appid = "wxacc93d31c5dbd26f" ; String secret = "f8c9e82b590ac71eb12e96f77cf65740" ; String url = "https://api.weixin.qq.com/sns/oauth2/access_token?appid=" + appid + "&secret=" + secret + "&code=" + code + "&grant_type=authorization_code" ; try { JSONObject jsonObject = authUtil.doGetJson(url); String openid= (String) jsonObject.get("openid" ); System.out.println(openid); userService.addOpenid(state,openid); } catch (IOException e) { e.printStackTrace(); } return "授权成功,绑定微信成功" ; }
此处同样是请求链接,就可以返回一个 json 数据,里面就有我们所需要的数据,如果还需要用户信息的数据,可以继续跟着官方的步骤继续往下做,但是我们这里只需要一个 openid,所以就到这一步。
在这一步中,我们请求该链接,然后用authUtil工具里来解析,将其返回的数据转换为 json 数据,以方便我们的提取使用,转换为 json 数据之后,只要从中通过 key 取出来即可。
此处首先会判断用户的 openid 是否存在,如果存在就弹出提示,不执行以下的操作,否则在查出用户的openid 之后,即可绑定到数据库,弹出提示信息。
以下是此处用到的 authUtil 工具类
1
2
3
4
5
6
7
8
9
10
11
12
13
14
15
16
17
18
19
20
21
22
23
24
25
26
@Component public class AuthUtil public static final String APPID = "wx45c1428e5584fcdb" ; public static final String APPSECRET = "98174450eb706ada330f37e646be85d5" ; public JSONObject doGetJson (String url) throws ClientProtocolException, IOException JSONObject jsonObject = null ; DefaultHttpClient client = new DefaultHttpClient(); HttpGet httpGet = new HttpGet(url); HttpResponse response = client.execute(httpGet); HttpEntity entity = response.getEntity(); if (entity != null ){ String result = EntityUtils.toString(entity,"UTF-8" ); jsonObject= JSON.parseObject(result); } httpGet.releaseConnection(); return jsonObject; } }
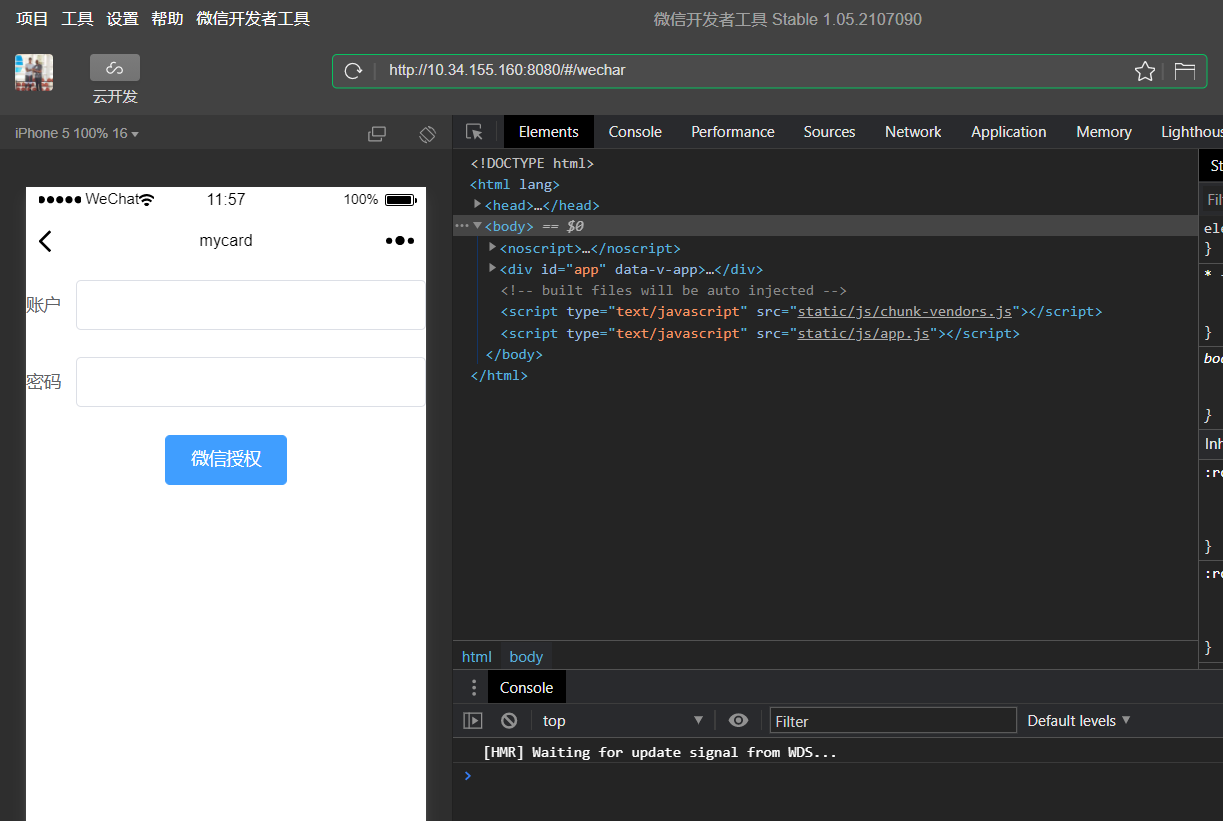
我们需要一个能看得过去,能让用户输入账号密码的前端界面,所以以下是我们 vue 的代码
1
2
3
4
5
6
7
8
9
10
11
12
13
14
15
16
17
18
19
20
21
22
23
24
25
26
27
28
29
30
31
32
33
34
35
36
37
38
39
40
41
42
43
44
45
46
47
48
49
50
51
52
53
54
55
56
<template> <div class="login"> <div class="form-login"> <el-form ref="form" :model="data.form" > <el-form-item label="账户"> <el-input v-model="data.form.name" class="input-login"></el-input> </el-form-item> <el-form-item label="密码"> <el-input v-model="data.form.pass" type="password" class="input-login"></el-input> </el-form-item> <el-button type="primary" @click="Wechatlogin">微信授权</el-button> </el-form> </div> </div> </template> <script> import {getCurrentInstance, reactive} from "vue"; import qs from "qs"; import router from "../../router"; import { ElLoading } from 'element-plus' export default { name: "Wechar", setup(){ const {proxy}=getCurrentInstance(); const qs=require('qs'); const data=reactive({ form: { name: '', pass: '', }, }) const Wechatlogin = () => { const loading = ElLoading.service({ lock: true, text: 'Loading', background: 'rgba(0, 0, 0, 0.7)', }) proxy.$axios.post('user/login',qs.stringify({ "userId":data.form.name,"userPass":data.form.pass })).then(res=>{ if ("允许登录"==res.data){ window.location.href="http://10.33.73.62:8089/wechat/oauth?id="+data.form.name loading.close() }else{ loading.close() alert(res.data); } }); } return{ data,Wechatlogin, } } } </script>
这里点击授权的按钮之后,首先会判断用户是否存在以及密码是否正确,然后就去调用后端的接口。
注意此处有一个坑: 可以看到我这里window.location.href=http://10.33.73.62:8089/wechat/oauth?id=+data.form.name使用的是window.location.href请求后端接口。 这里是不能用axios进行请求的,会出现跨域异常(跨域到微信的服务器)。 算是一个逼坑指南。